These Grilled Cheese Roll Ups are a delightful twist on the classic grilled cheese sandwich! Perfect for lunch, snacks, or even as a fun party appetizer, these cheesy treats are super easy to make and incredibly satisfying. Their unique rolled-up shape makes them not only visually appealing but also a hit with kids and adults alike. Whether you’re serving them at a family gathering or enjoying them for a cozy night in, these roll ups are sure to impress!
Why You’ll Love This Recipe
- Quick and Easy – With just three simple ingredients and minimal prep time, you can whip up these roll ups in no time.
- Cheesy Goodness – The generous amount of melted cheddar ensures every bite is packed with flavor.
- Versatile Snack – Enjoy them as a standalone snack or pair them with your favorite dipping sauces like marinara or ranch.
- Kid-Friendly – Kids love the fun shape and cheesy taste, making it an ideal recipe for picky eaters.
- Perfect for Any Occasion – Whether it’s a casual lunch, game day snack, or party treat, these roll ups fit right in!
Tools and Preparation
Before diving into the recipe, make sure you have the right tools on hand. Having the proper equipment will ensure a smooth cooking process.
Essential Tools and Equipment
- Rolling pin
- Cutting board
- Tongs
- Non-stick frying pan
- Brush for butter
Importance of Each Tool
- Rolling pin – This tool helps flatten the bread evenly, making it easier to roll up with cheese.
- Non-stick frying pan – Ensures that your roll ups cook evenly without sticking, leading to perfect golden-brown results.
Ingredients
These Grilled Cheese Roll Ups are super easy, totally cheesy and darn-right delicious!
Ingredients:
– 8 thick slices of Soft White Bread
– 1.5 cups / 150g finely grated Cheddar
– 2 tbsp Butter, (melted (or as needed))
How to Make Grilled Cheese Roll Ups
Step 1: Prepare the Bread
- One by one, slice the crusts off of each slice of bread.
- Use a rolling pin to flatten each slice.
Step 2: Add the Cheese
- Add a pinch of cheddar cheese to each flattened slice.
- Leave a small strip at one end free to brush with butter.
Step 3: Roll Them Up
- Tightly but carefully roll up each slice starting from the cheese end.
- Brush the free edge with butter, sealing it shut.
- Place each roll seam-side down on your cutting board.
Step 4: Fry the Roll Ups
- Brush all over with butter before placing in the pan.
- Heat a dry non-stick frying pan over low-medium heat.
- Add roll ups to the pan seam-side down and fry until golden all over.
- Turn frequently with tongs; cook until cheese starts to leak out—this may take two batches depending on pan size.
Enjoy your delicious Grilled Cheese Roll Ups!
How to Serve Grilled Cheese Roll Ups
Grilled Cheese Roll Ups are a fun and versatile dish that can be enjoyed in many ways. Whether you serve them as a snack, an appetizer, or part of a meal, these roll ups are sure to please everyone.
With Dipping Sauces
- Marinara Sauce – A classic pairing, this rich tomato sauce adds a tangy flavor that complements the cheesy goodness.
- Ranch Dressing – Creamy ranch provides a cool contrast and makes for a delightful dip.
- Spicy Ketchup – Add a kick with spicy ketchup, perfect for those who like some heat.
As Party Appetizers
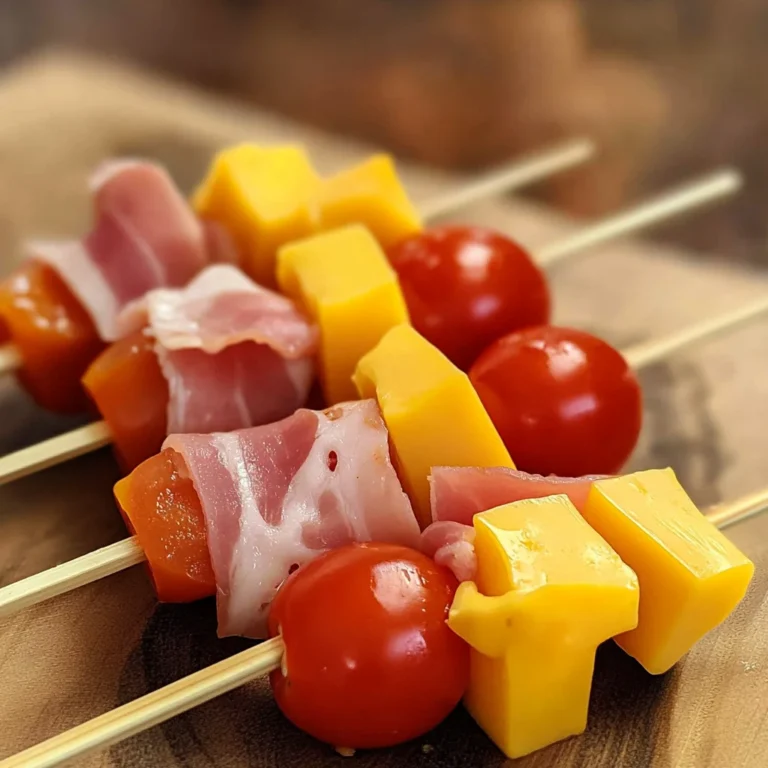
- Mini Skewers – Cut each roll up into bite-sized pieces and serve on skewers for easy handling at parties.
- Cheese Platter – Pair the roll ups with an assortment of cheeses to elevate your appetizer spread.
In Lunch Boxes
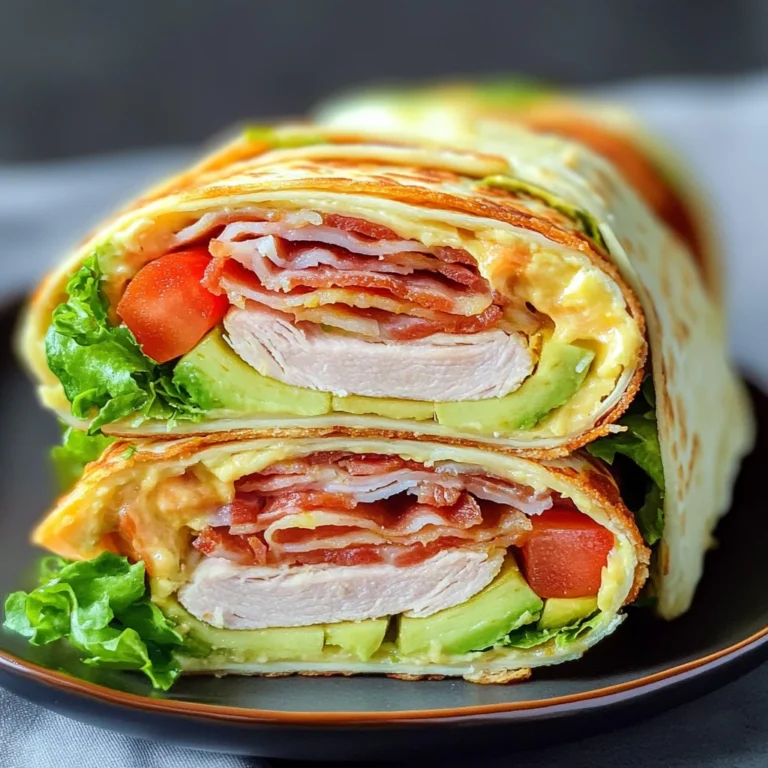
- Packed with Veggies – Add sliced cucumbers and cherry tomatoes to balance the richness of the roll ups.
- Fruit Slices – Include apple or pear slices for a refreshing touch alongside the savory flavors.
How to Perfect Grilled Cheese Roll Ups
Perfecting Grilled Cheese Roll Ups is all about technique and attention to detail. Follow these tips to ensure your roll ups turn out delicious every time.
- Use Fresh Bread – Fresh bread rolls better and offers a better texture when cooked.
- Don’t Overfill – Keep cheese amounts moderate to avoid spilling during cooking.
- Control the Heat – Cooking over low-medium heat helps prevent burning while ensuring cheese melts thoroughly.
- Brush Generously with Butter – A good butter coating promotes golden crispiness on the outside.
- Experiment with Cheeses – Try mixing different cheeses like mozzarella or pepper jack for unique flavors.
Best Side Dishes for Grilled Cheese Roll Ups
Grilled Cheese Roll Ups pair wonderfully with various side dishes. Here are some excellent options to consider serving alongside.
- Tomato Soup – A traditional favorite that complements the cheesy flavor perfectly; try it warm for dipping!
- Garden Salad – Light and refreshing, a salad offers a nice contrast to the richness of the roll ups.
- Sweet Potato Fries – Crispy and sweet, these fries add an enjoyable crunch alongside your roll ups.
- Pickles – Tangy pickles provide a zesty bite that balances the dish’s richness beautifully.
- Potato Chips – For added crunch, serve crispy potato chips as a simple yet satisfying side.
- Coleslaw – A creamy coleslaw adds freshness and texture, making it an excellent companion to your roll ups.
- Fruit Salad – A mix of seasonal fruits can offer a refreshing sweetness beside your savory roll ups.
Common Mistakes to Avoid
Making Grilled Cheese Roll Ups is simple, but a few common mistakes can ruin your experience. Here are some pitfalls to watch out for:
- Ignoring the crust removal: Not cutting off the crusts can lead to uneven rolling. Always slice them off for a smooth roll.
- Overfilling with cheese: Using too much cheese makes it hard to seal the roll ups. Stick to a pinch for the best results.
- Skipping the butter brush: Forgetting to brush with butter can result in less crispy roll ups. Don’t skip this step for added flavor and texture.
- Using low-quality bread: Using stale or low-quality bread can affect taste and texture. Choose fresh, thick slices of soft white bread for optimal results.
Storage & Reheating Instructions
Refrigerator Storage
- How long: Store in the fridge for up to 3 days.
- Containers: Place in an airtight container to maintain freshness.
Freezing Grilled Cheese Roll Ups
- How long: Freeze for up to 2 months.
- Containers: Use freezer-safe bags or airtight containers, removing as much air as possible.
Reheating Grilled Cheese Roll Ups
- Oven: Preheat to 350°F (175°C) and bake for about 10 minutes until heated through.
- Microwave: Heat on high for 20-30 seconds, but note that this may make them less crispy.
- Stovetop: Heat in a lightly greased pan over medium heat, turning until warm and crispy.
Frequently Asked Questions
Here are some common questions about making Grilled Cheese Roll Ups.
Can I use different types of cheese in Grilled Cheese Roll Ups?
Yes! Feel free to mix cheeses like mozzarella or pepper jack for a twist on classic flavors.
How do I make my Grilled Cheese Roll Ups more flavorful?
You can add spices, herbs, or even cooked bacon bits inside for extra flavor. Customize them to your liking!
Can I prepare Grilled Cheese Roll Ups ahead of time?
Absolutely! You can prepare them and store them in the fridge or freeze them before cooking.
What is the best way to serve Grilled Cheese Roll Ups?
These roll ups pair perfectly with tomato soup or your favorite dipping sauce!
Final Thoughts
Grilled Cheese Roll Ups are not only easy to make but also incredibly delicious and versatile. They are perfect for lunch, snacks, or even appetizers. Feel free to customize them with different cheeses or add-ins like veggies or meats. Give this recipe a try and enjoy cheesy bliss!

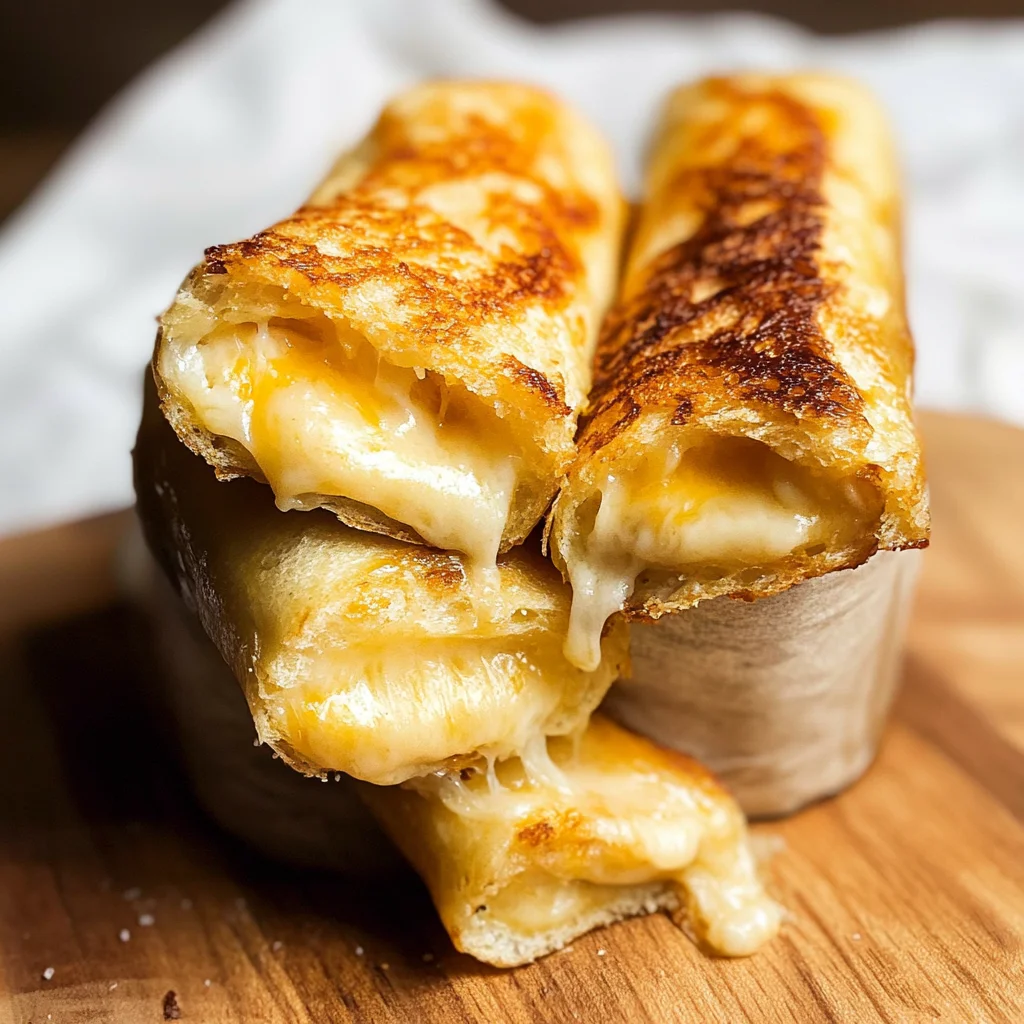
Grilled Cheese Roll Ups
- Total Time: 20 minutes
- Yield: Makes about 8 roll ups 1x
Description
Grilled Cheese Roll Ups are a fun and delicious twist on the classic grilled cheese sandwich, making them an ideal snack or appetizer for any occasion. With their crispy exterior and gooey cheddar filling, these roll ups are sure to be a hit with both kids and adults alike. Easy to prepare with just three key ingredients, they can be enjoyed on their own or paired with a variety of dipping sauces like marinara or ranch. Perfect for lunch, game day snacks, or casual gatherings, these cheesy delights offer a satisfying bite that brings comfort food to new heights.
Ingredients
- 8 thick slices Soft White Bread
- 1.5 cups finely grated Cheddar
- 2 tbsp Butter (melted)
Instructions
- Trim the crusts from each slice of bread and flatten them using a rolling pin.
- Place a pinch of cheddar cheese on each slice, leaving one end free for sealing.
- Roll tightly from the cheese end and brush the free edge with butter to seal.
- Heat a non-stick frying pan over low-medium heat, then add the roll ups seam-side down.
- Cook until golden brown and cheese begins to leak out, turning frequently.
- Prep Time: 10 minutes
- Cook Time: 10 minutes
- Category: Snack/Appetizer
- Method: Frying
- Cuisine: American
Nutrition
- Serving Size: 1 roll up
- Calories: 150
- Sugar: 0g
- Sodium: 250mg
- Fat: 10g
- Saturated Fat: 6g
- Unsaturated Fat: 3g
- Trans Fat: 0g
- Carbohydrates: 12g
- Fiber: 1g
- Protein: 4g
- Cholesterol: 25mg
Keywords: Use fresh bread for the best texture. Don’t overfill with cheese to ensure easy sealing. Experiment with different cheeses like mozzarella or pepper jack for added flavor.